This kind of image editing of converting day photos into night is very much trending on social media these days and people can convert their bakery to bakery day photos just by following a prompt. By doing this they are editing the photos which look real and many people are making such photos and also uploading them on social media. So in today’s post you will learn how to make such a photo, which prompts to use to make our photo like this and which tools to use to make such a photo. If you want to chat with Gpt or Gemini then for this you will have to read the entire post.
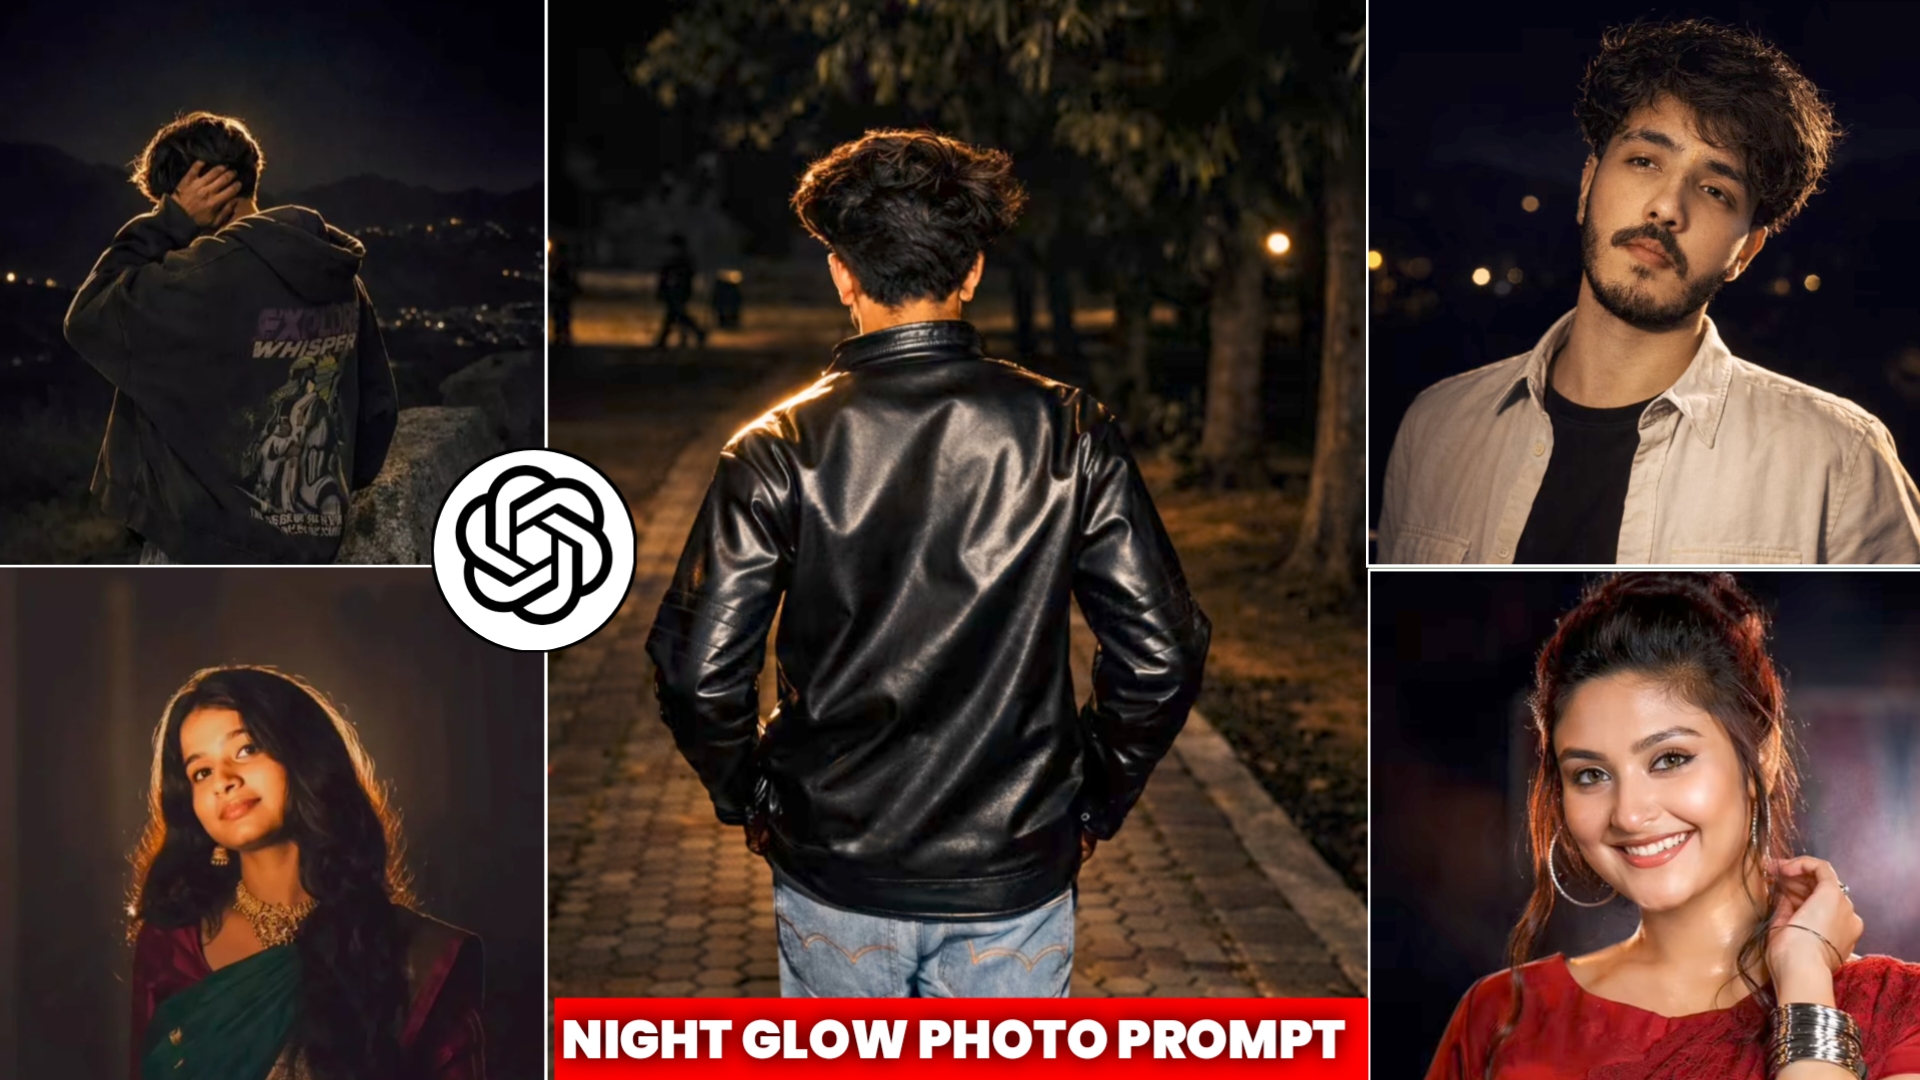
Night Glow AI Photo Editing – Full Detailed Prompt Guide
So come, now we will tell you about it in details. To make such a photo, first of all you should see your You have to use your photo taken during the day. You might be wanting to get a night look in your photo. Just like there is light in the day photo, similarly the night pic is lit differently and that too The light is being loved on social media and people want to make it too, but you might not be getting the prompt to make it so that you can edit this viral night photo.So don’t worry, I will tell you the prompts that you did not get and I will also tell you step by step how to make such a photo, so let me tell you.
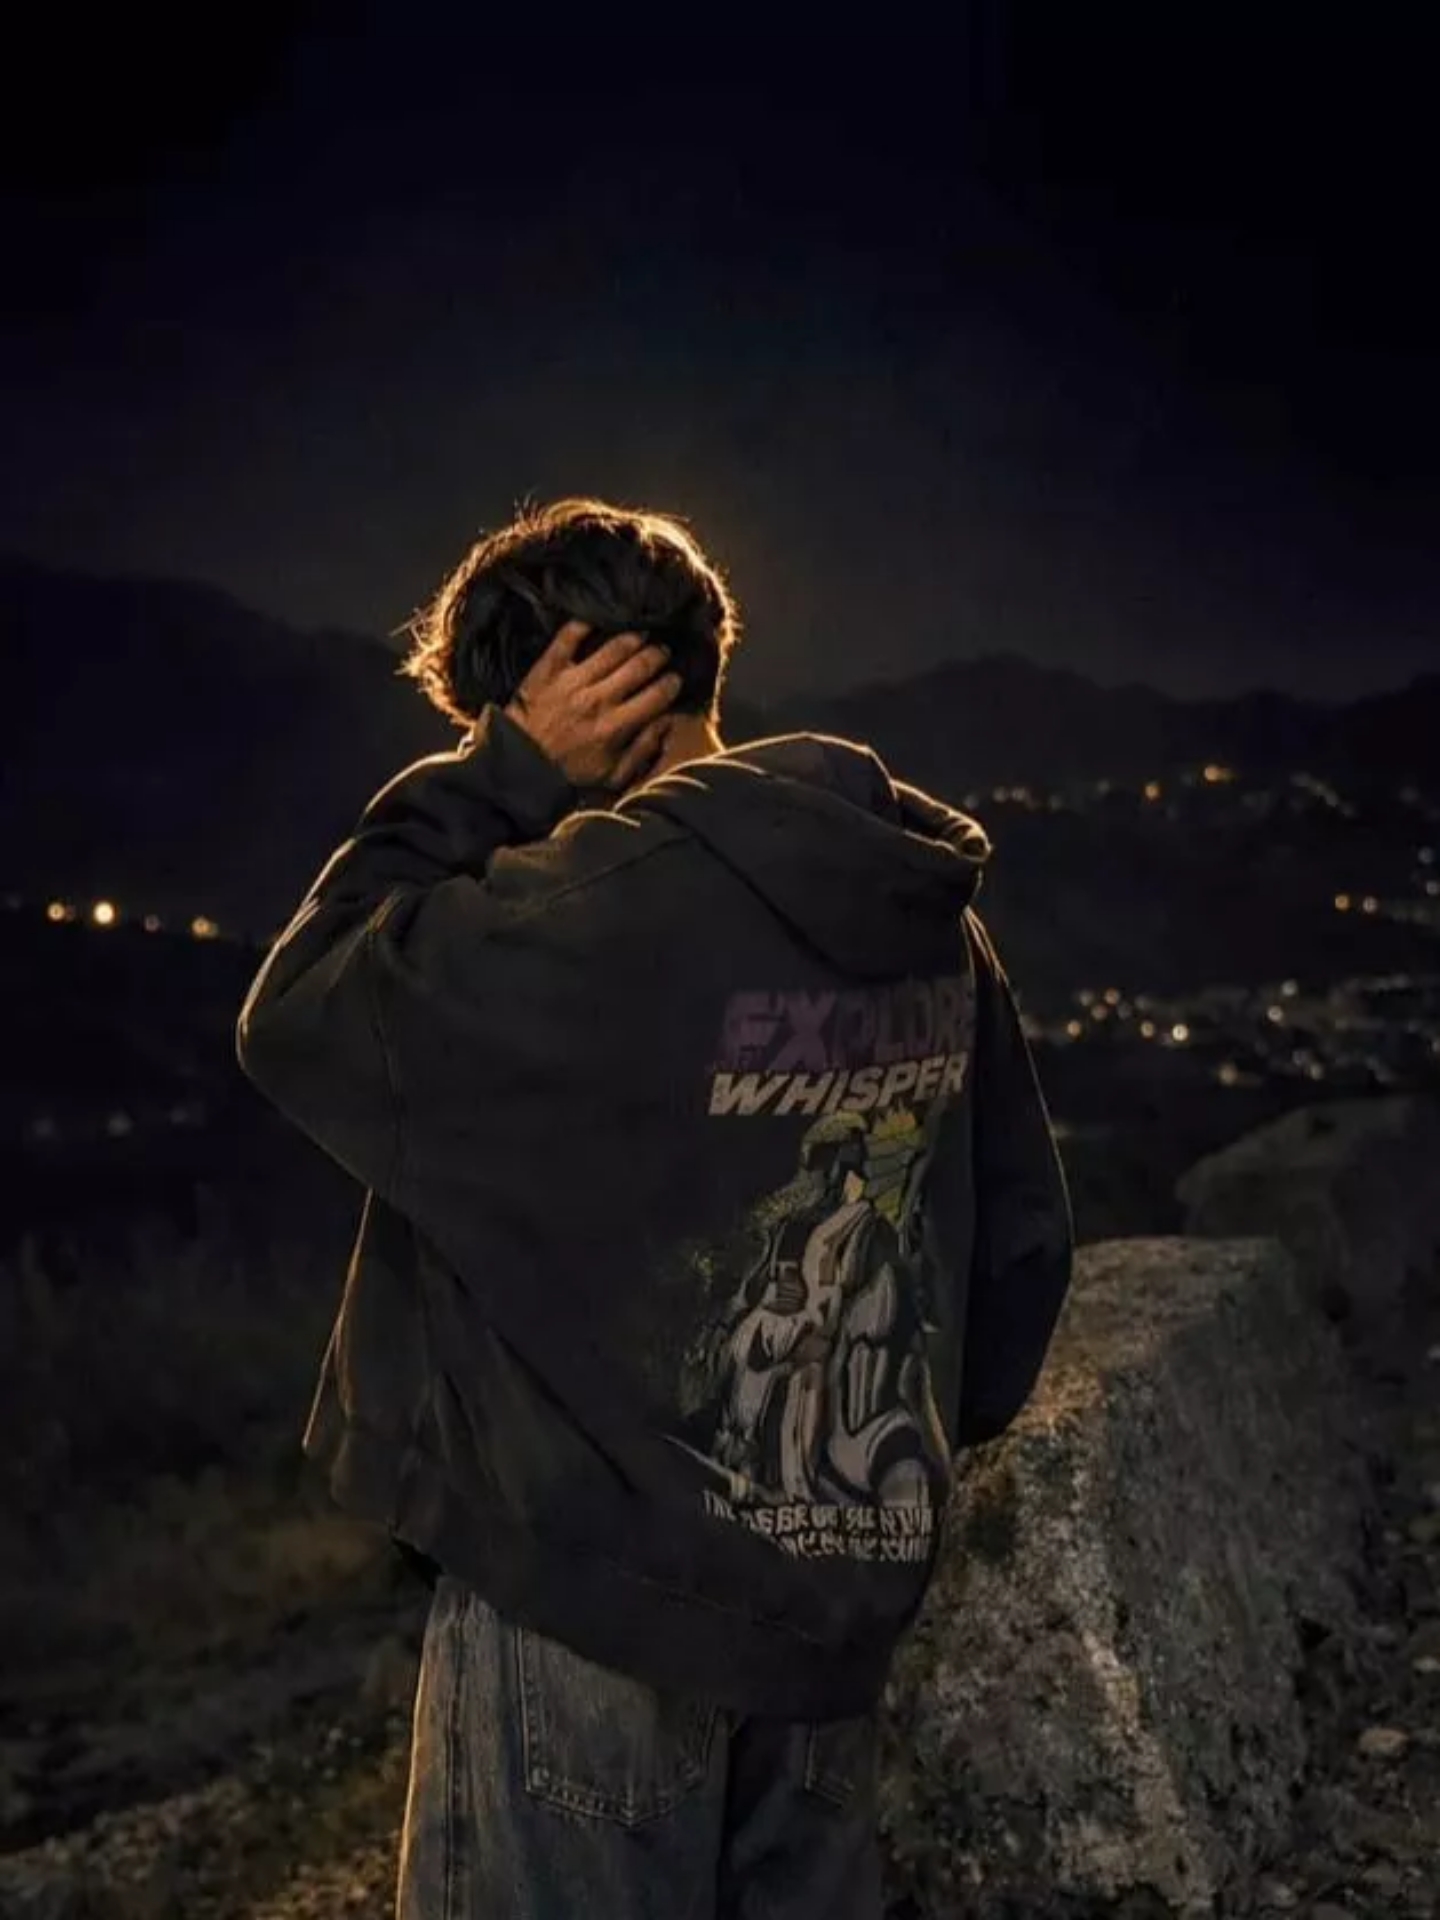
focused near the f@ce and upper b0dy (primary br1ght area).Add diffused sun-be@m style highlights on cheekb0nes, n0se bridge, lips and hair str@nds.Maintain separation between br1ght areas and deep shad0ws for cinematic contrast.
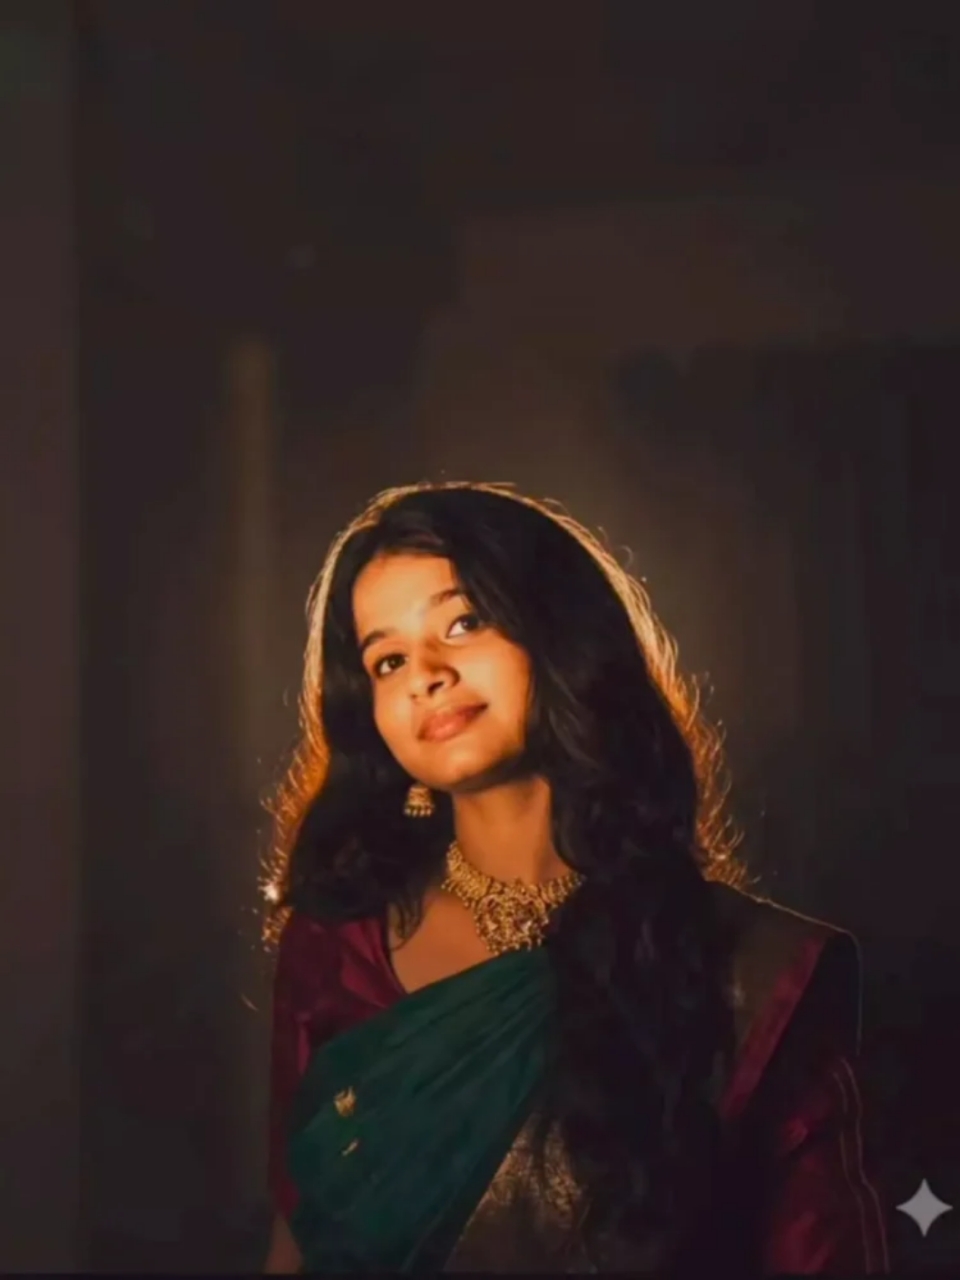
Maintain clear separation between bright sunlit areas and soft, deep shadows to create a cinematic high contrast mood. Inject subtle lens bloom, light haze and thin layer of atmospheric glow around the face and shoulder. Render skin with luminous translucency and gentle peachy tones. Make the flashlight come from my back.
Hard rule: Do not change the face of the subject. Do not change the composition and background
How to Create Night Glow Effect Using AI Prompts
So let me now tell you how to edit such a night glow photo. Editing such a photo is quite easy but I will still tell you how you can edit it. So I have provided the prompt to you guys, please copy it above and then tap on the Create Image red button. And then you have to sign up with your Google account and then you can upload your photo using the + icon. If you want to edit the photo taken during the day, then paste the prompt after that.Then as you send it, it will be converted into a glow night photo, you just have to wait for a few minutes. Then he can save it easily.
Last Few Words
I have told you how to edit Night Glow photos and you must have created such photos as well And if you are making such a photo then you should use one of your perfect photos, even if it is a good photo or a back photo then you will get very bad results. Which you can see I am not sure if this is a made up image. and if you need more trending edit template prompts then you will get them on my website.So you can visit